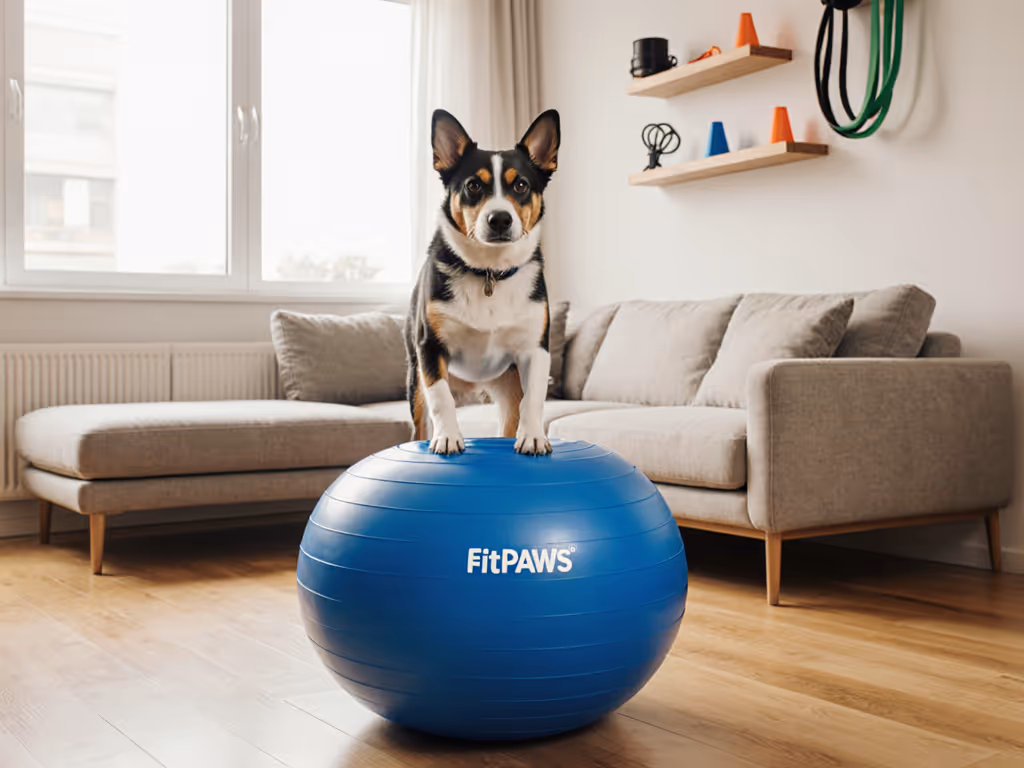
FitPAWS Balance Bone: Worth the Investment?
4th Apr•4 min read
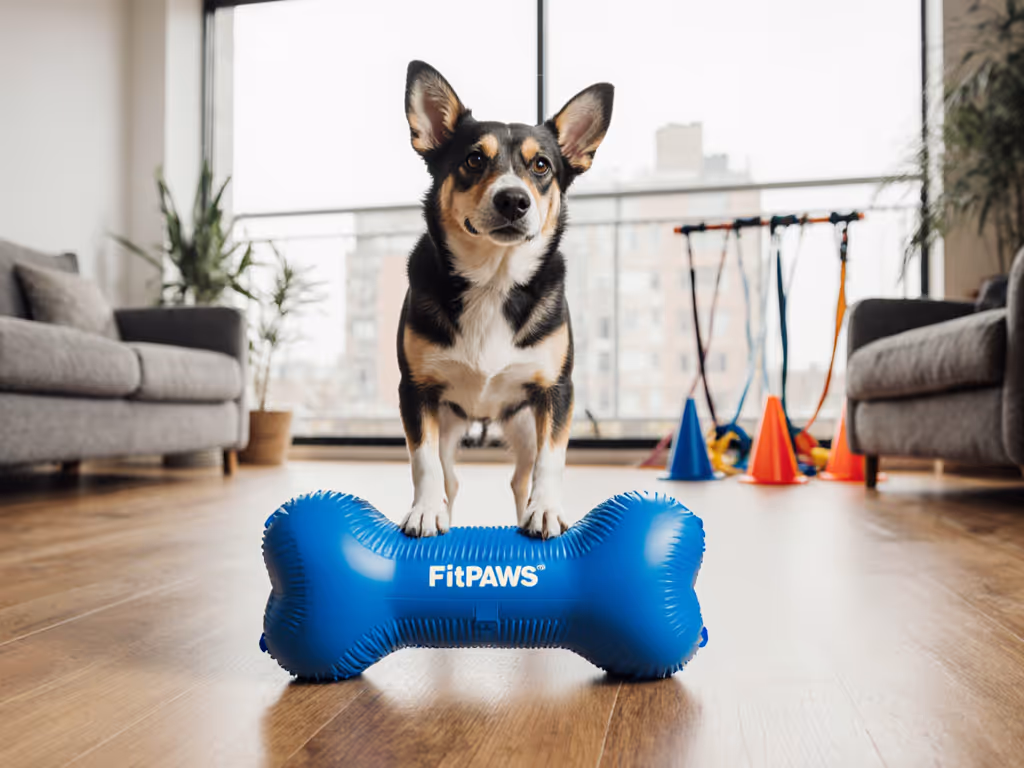
Building do it yourself dog agility equipment in your backyard isn't just about burning energy, it is an investment in your dog's lifelong mobility. When I began crafting backyard dog agility equipment, I stopped viewing joints as simple hinges and started seeing them as the hidden infrastructure of every joyful leap and confident stride. Protect the joints today to unlock fuller movement tomorrow. This isn't about racing through obstacles; it is about building resilient movement patterns that honor your dog's physical limits while nurturing their spirit. Let's explore how to create a course that prioritizes joint longevity without sacrificing fun.
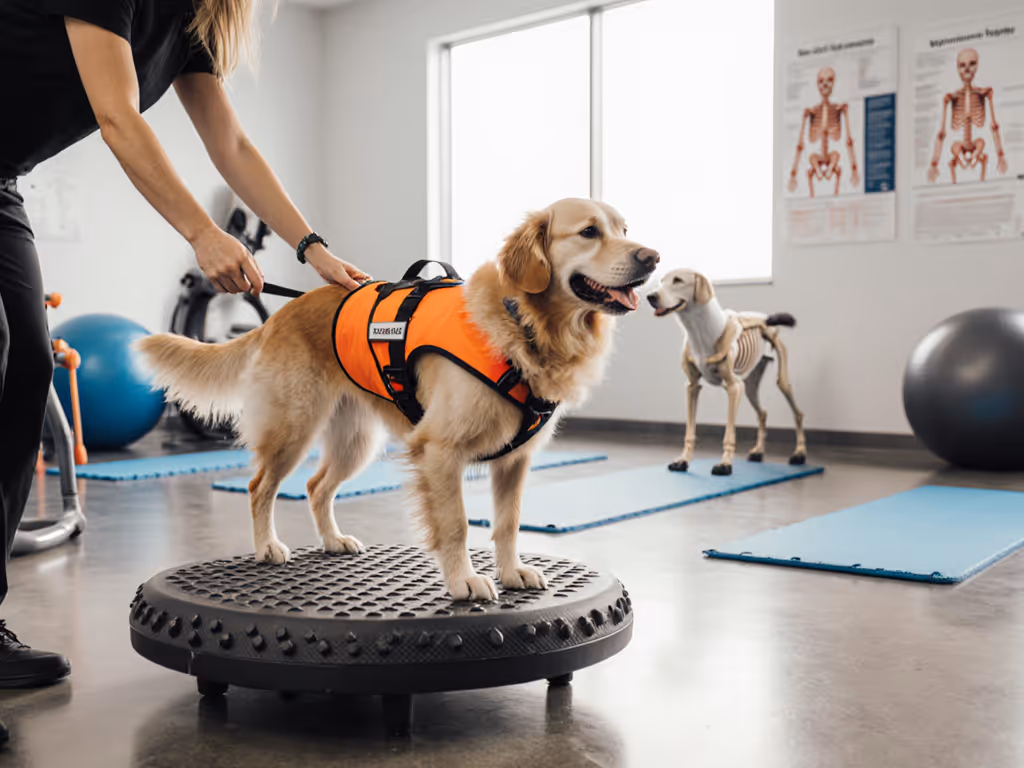
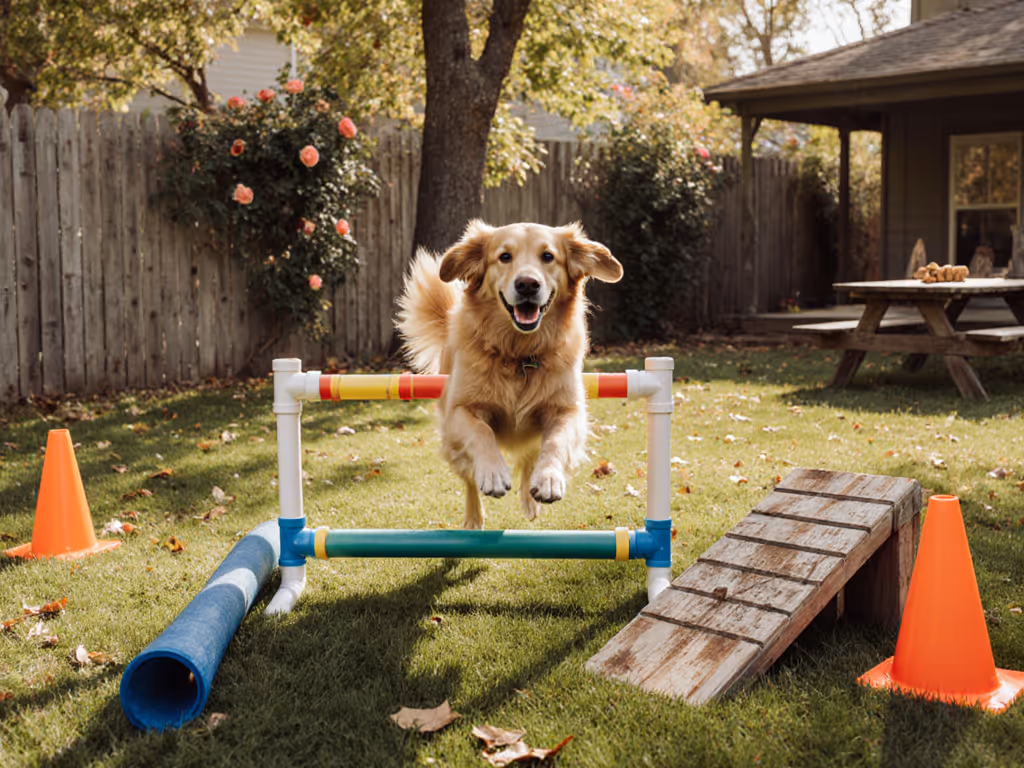
Contrary to popular belief, well-structured agility reduces joint wear when designed with biomechanics in mind. The American Kennel Club confirms that "active dogs tend to keep fluid in their joints longer, which lessens the effects of aging." But this only holds true when impact is managed. Consider the difference between haphazard backyard jumping and thoughtfully designed obstacles: controlled takeoffs and landings distribute force evenly across tendons and ligaments, while poor technique concentrates stress on vulnerable joints. I've seen this firsthand, like when my foster dog with a soft-tissue strain transformed from limping to joyful movement through measured ground poles and ramp work. Her progress wasn't about speed; it was about precision. Small, precise choices turned chaos into comfort.
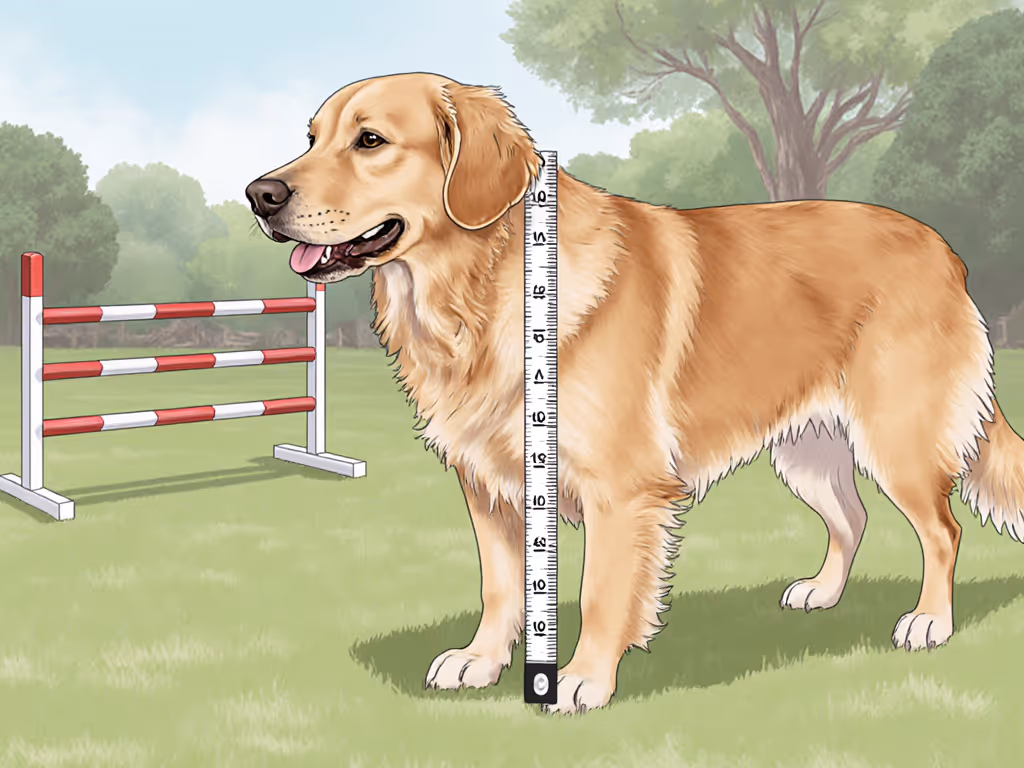
A caution-first disclaimer: Always perform a fit check before session start. Place your hand between your dog's shoulder blades, and if it sinks more than 1 cm, scale back intensity. For dog training obstacle course equipment, measure your dog's withers height first: jump bars should never exceed 1/3 of this measurement for beginners. Seniors or dogs with arthritis may need jumps as low as 4-6 inches. Puppies under 18 months require zero vertical jumps. Focus on horizontal challenges like tunnels and low hoops.
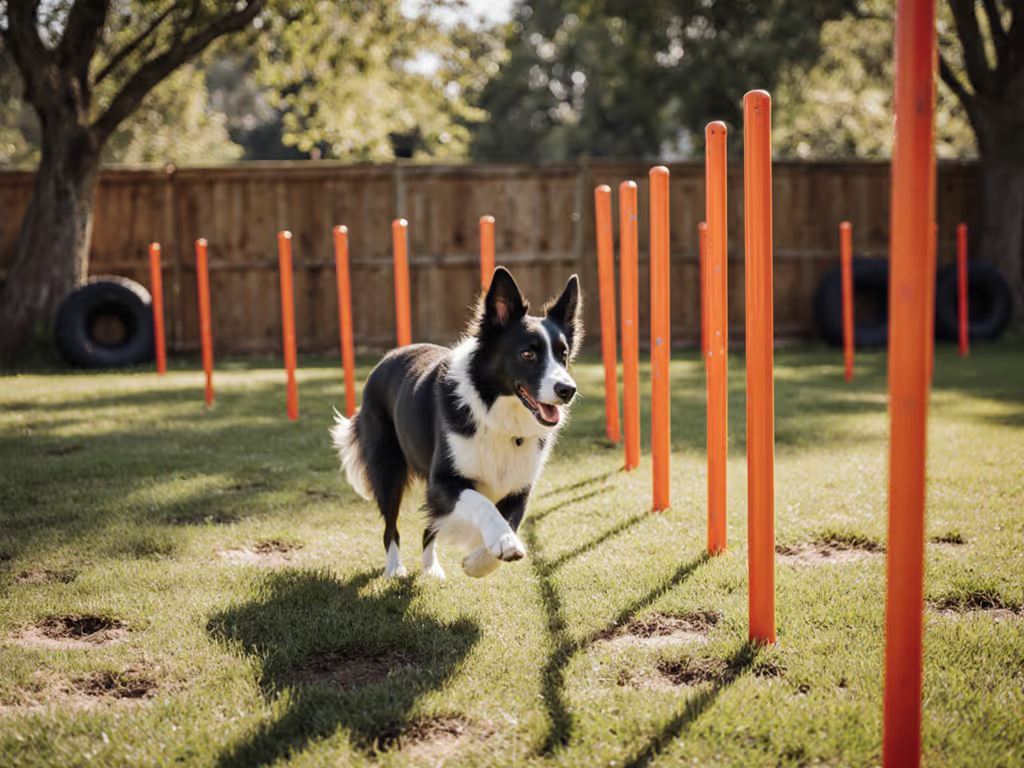
Surface notes become non-negotiable here. Seniors need 2+ inches of forgiving material under all impact zones (think rubber mulch or EVA foam tiles ($35-$60 for 10 sq ft)). For puppies, age/weight modifiers dictate everything: A 10-lb toy breed shouldn't tackle the same weave pole spacing as a 70-lb adolescent Labrador. Start with dog weave poles homemade versions using 24-inch sections of PVC pipe spaced 24 inches apart (adjustable as they grow). The progression ladder must include:
Remember my foster's journey: we logged two-minute wins on textured ramps before attempting any jumps. Shortened turns and measured paw placement rebuilt her confidence. Slow is smooth, and smooth becomes fast.
Hard surfaces like asphalt or packed clay transmit 3-5x more impact than forgiving alternatives. Prioritize these surface notes:
In rainy climates, keep a roll of interlocking foam mats ($2/sq ft) ready for sudden indoor sessions. For DIY dog jumps, wrap bases with yoga mat strips, which reduces vibration transfer to joints by 40% according to a 2024 canine ergonomics study. Always warm up with 5 minutes of loose-leash walking before touching equipment. For a complete checklist of joint-safe warm-ups and injury prevention, see our dog exercise safety guide.
Begin with three non-negotiable elements:
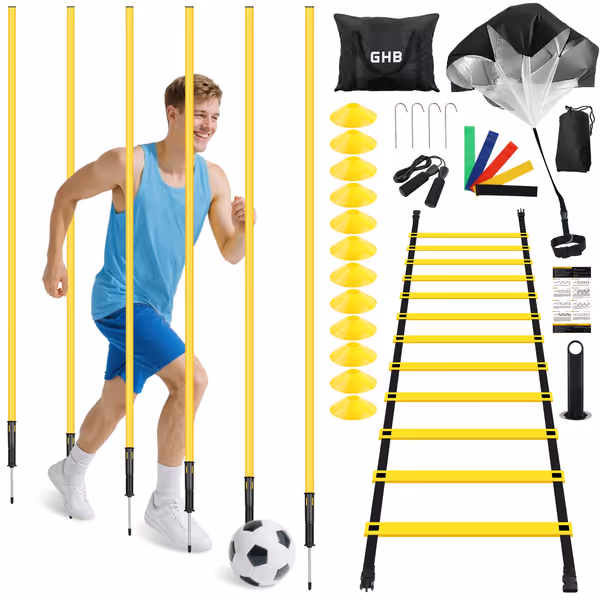
For backyard dog agility equipment, the GHB Agility Training Set offers modular components that align with joint-sparing principles, and their adjustable hurdles allow height calibration per your dog's needs. What matters isn't the brand but whether you can modify jump heights within 1-inch increments.
Slow is smooth, smooth becomes fast. Rushing progression guarantees setbacks.
Build your progression ladder in weekly phases:
| Phase | Duration | Focus | Joint Protection Tip |
|---|---|---|---|
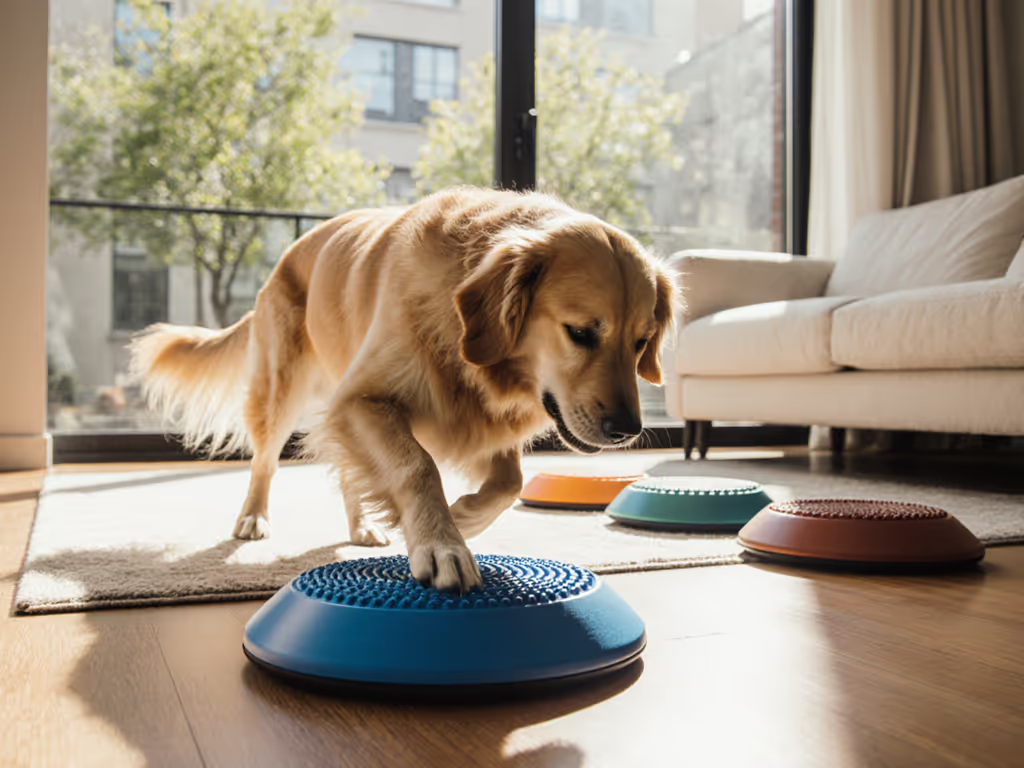
| Foundation | 1-2 weeks | Directional cues on flat ground | Add paw-targeting discs for proprioception |
| Introduction | 2-3 weeks | 4-6" jumps on forgiving surfaces | Use voice markers before jumps to reduce speed |
| Integration | 3+ weeks | 2-3 simple sequences | Limit repetitions: 3x jumps max per session |
Track progress through video analysis: watch for tucked elbows or stiff landings. If your dog's tail stops wagging during work, pause immediately. Quality always trumps quantity in joint-smart agility.
Tomorrow morning, before your coffee cools, do this: Measure your dog's withers height and mark jump heights at 1/4, 1/3, and 1/2 that measurement on your DIY jump standards. Then lay out two ground poles (parallel garden stakes work) 18 inches apart. Walk your dog through 5 times using only directional cues (no treats). Notice paw placement precision. This 90-second ritual builds the neural pathways that prevent future injury. You're not just training behaviors; you're building the capacity for confident movement tomorrow. Because when we protect joints today, we gift dogs the freedom to leap without limits for years to come.